
Librarian sites can be deployed for free on Netlify (static build). One of the advantages of using Netlify is that you can enable PR previews for your repository, so every time a new PR is open on your site's repository, you get a comment from the Netlify bot on your PR with a link to a build preview, so that you can see how your changes are going to look like on the production site before getting the PR merged.
To host your Librarian site for free on Netlify, you'll need to have your site on a public GitHub / GitLab repository. If you haven't yet, commit and push your changes before moving ahead.
Importing your Project to Netlify
Once you're all set up with your Netlify account, you'll land in a dashboard similar to this:

Click on the "Add new Site" button, and you'll get a dropdown. Choose the first option "Import an existing project" and follow the instructions to import your project from your code hosting platform such as GitHub or GitLab.
You may need to authorize Netlify to have access to your repositories. Then, you'll be able to choose which repository you want to import. Select your Librarian repository and advance to the next page.
Configuring Netlify Deployment Settings for Librarian
In this page you'll set up the deployment details.
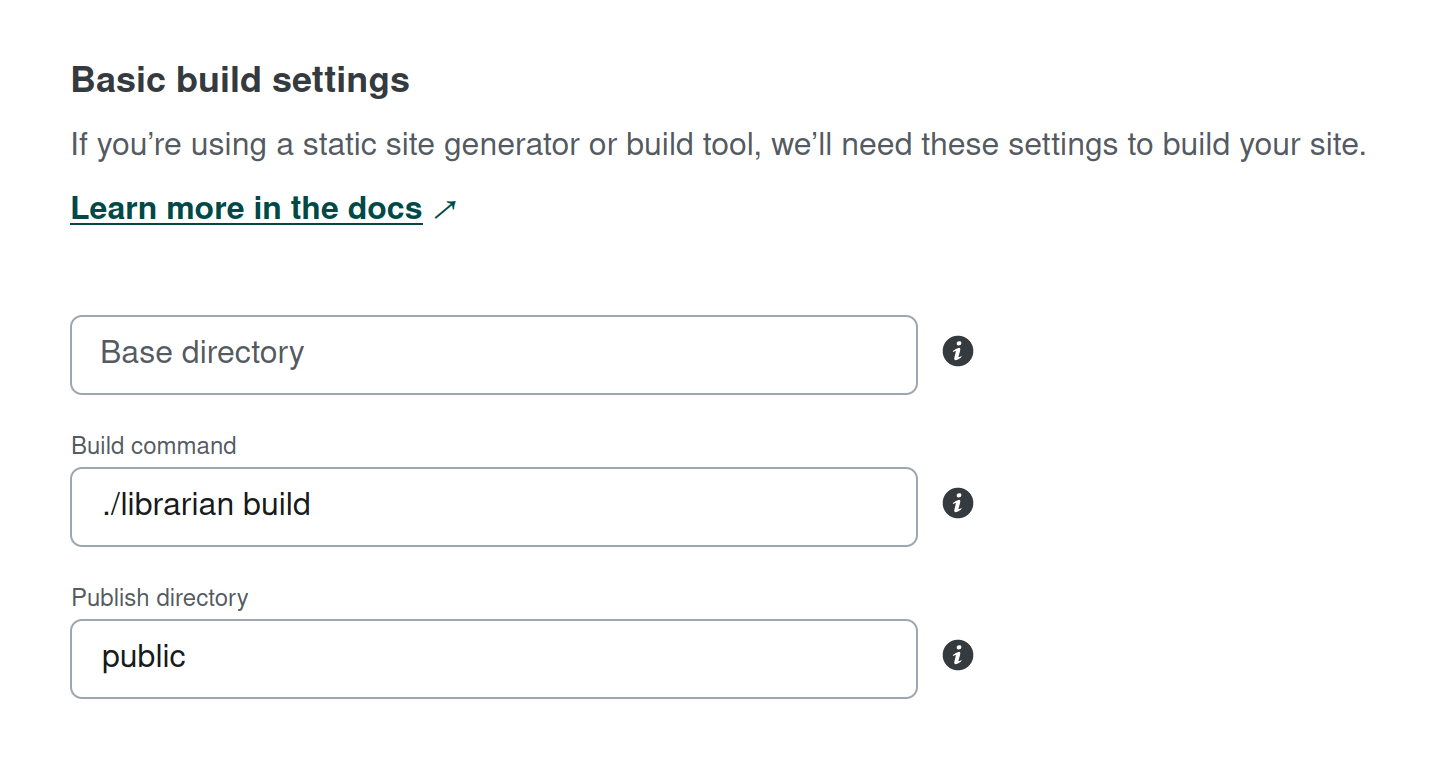
- Base directory: leave empty
- Build command:
./librarian build - Publish directory:
public
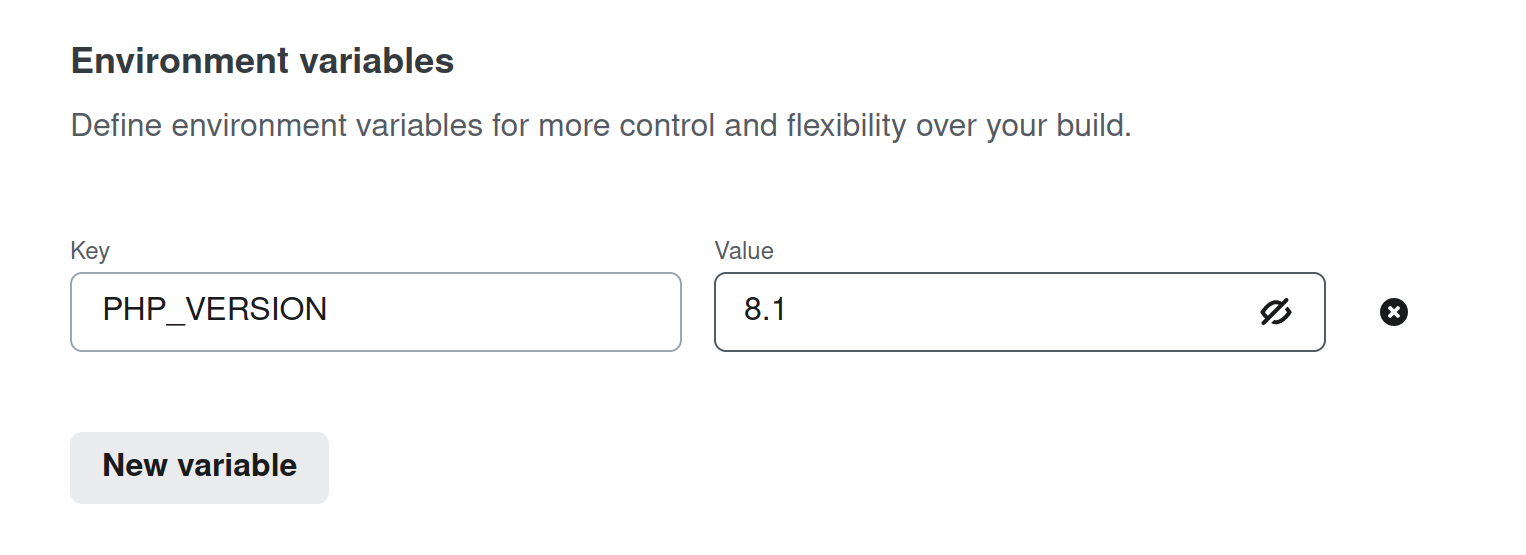
Librarian requires PHP >= 8.1, but Netlify uses PHP 8.0 by default when no version is specified. We need to set up an environment variable to tell Netlify to use PHP 8.1+.
Click on the "Show Advanced" button to show advanced settings for your build. This will show a few more options, including a "New variable" button to set up environment variables. Click on that button and set up a variable called PHP_VERSION, setting it to 8.1.
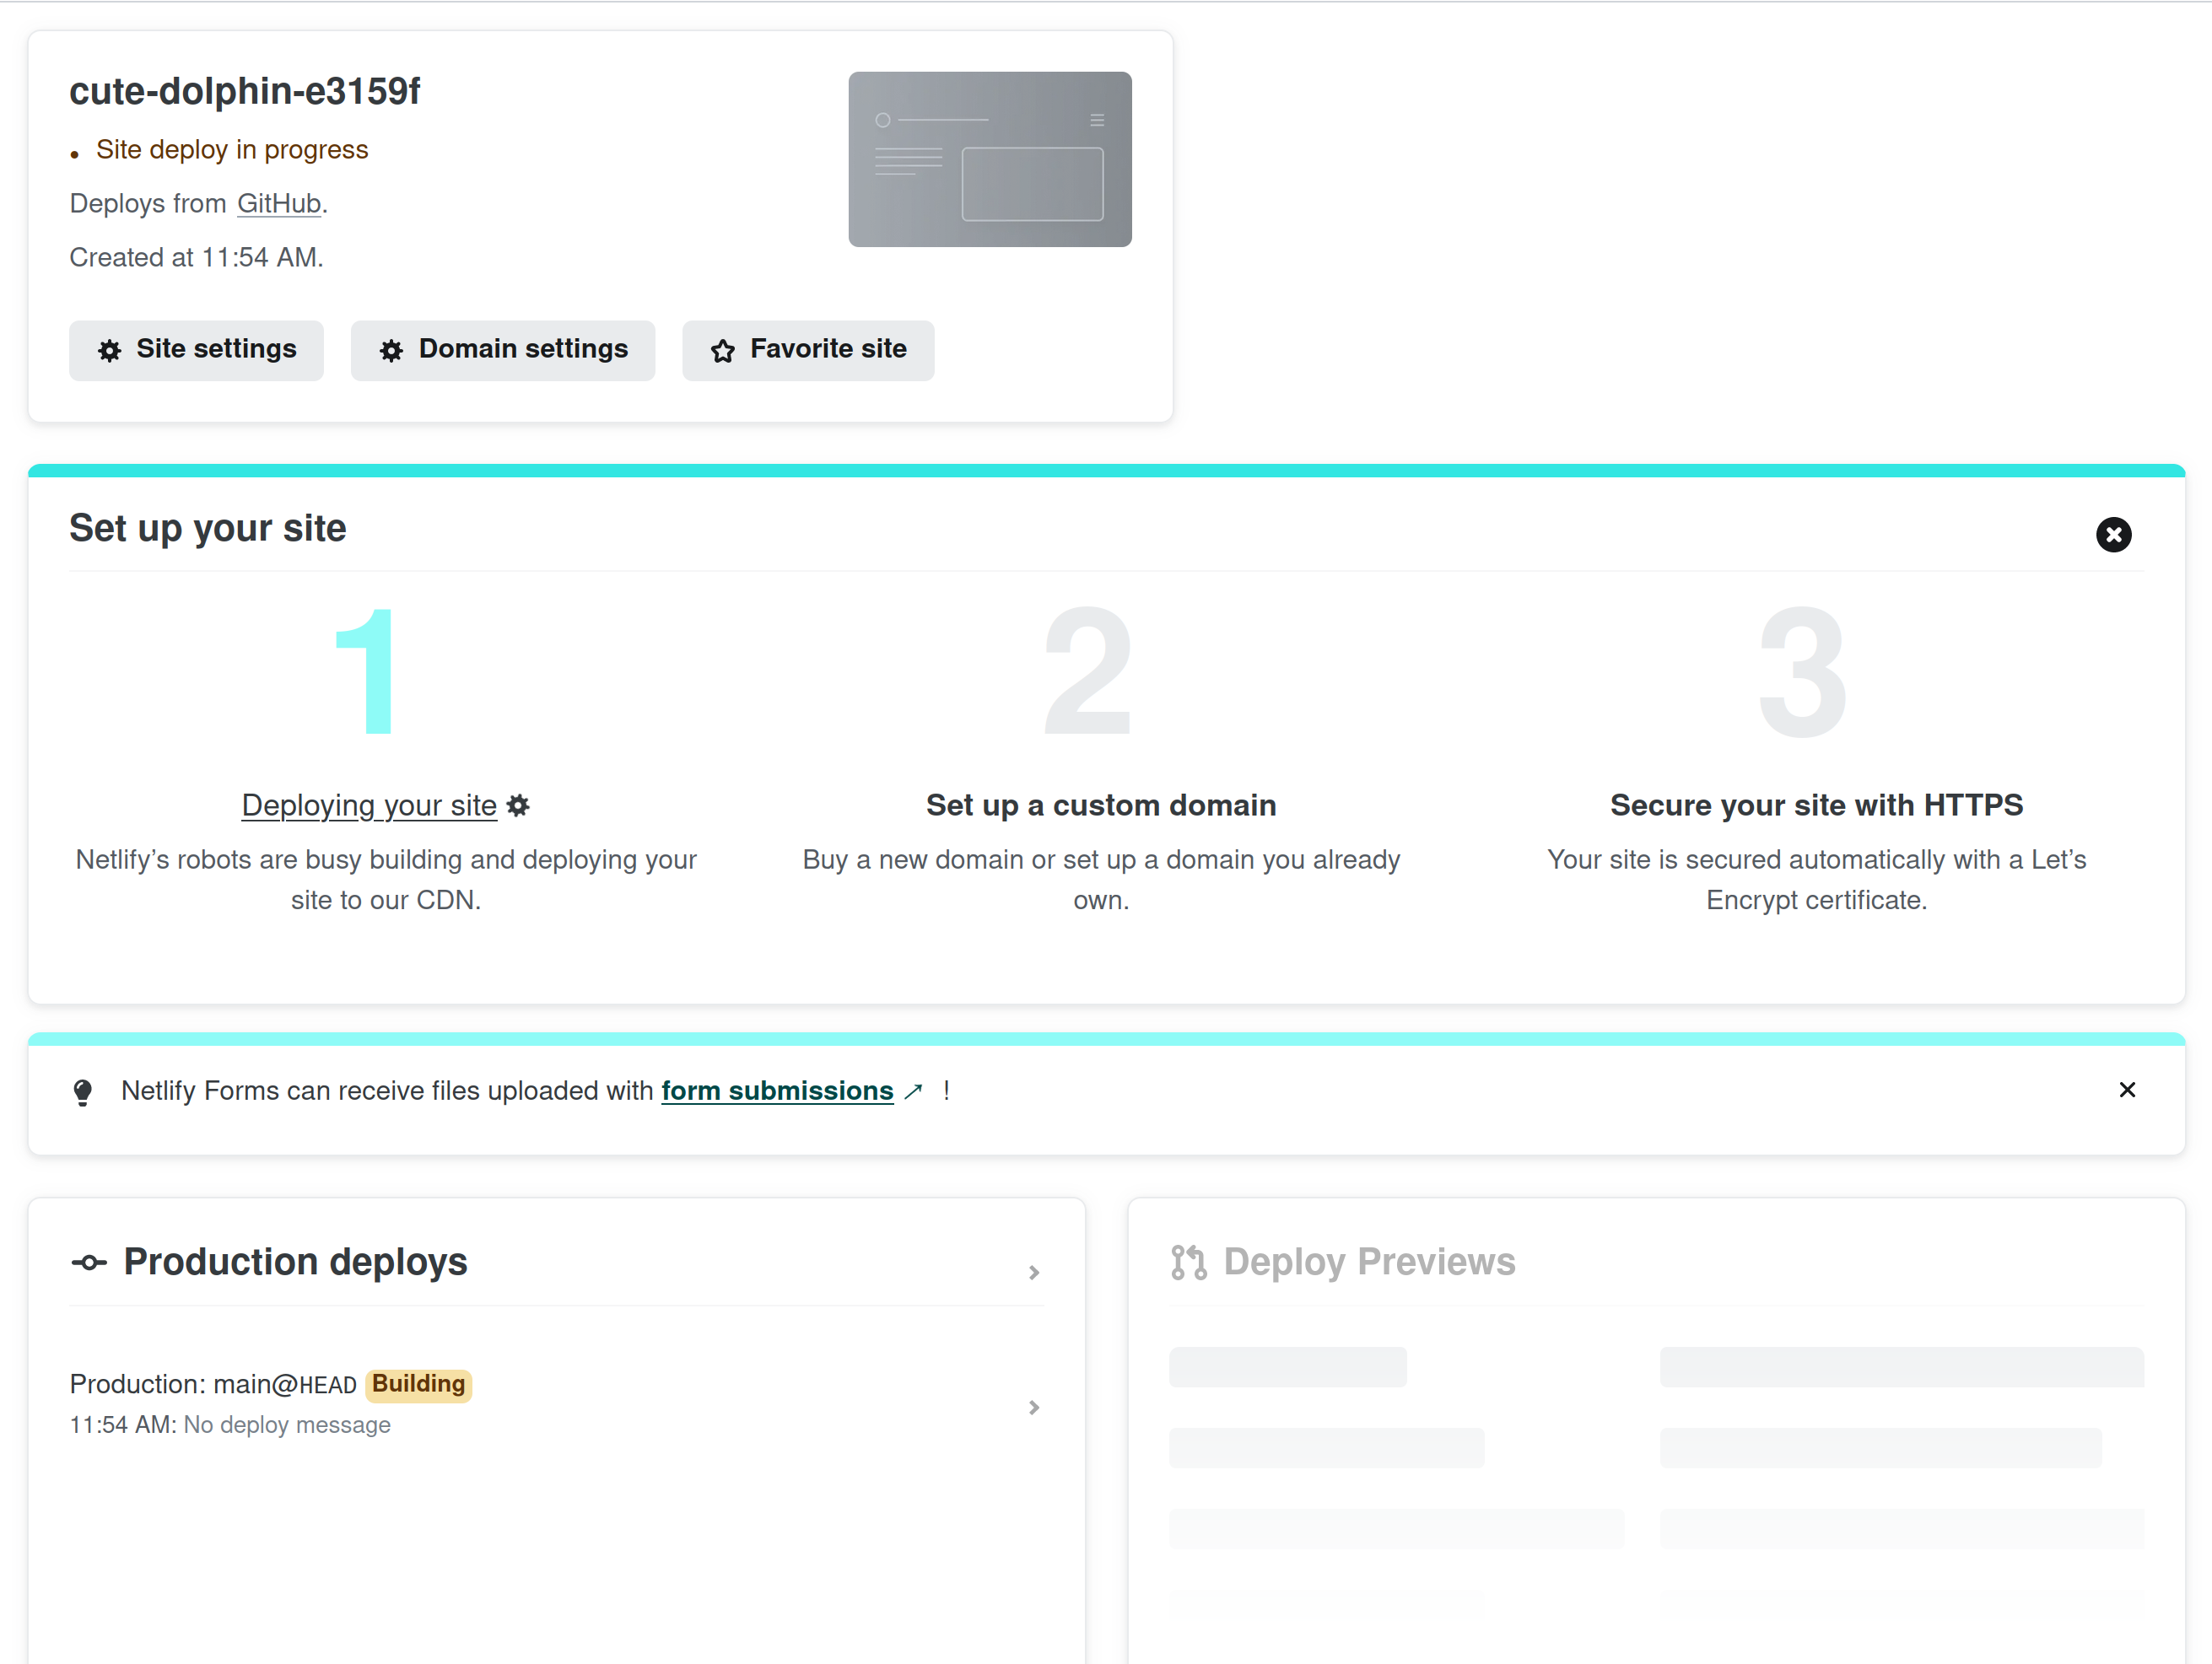
Click on "Deploy Site" to finish the setup process. You will be redirected to a new page showing all your site details, where you'll be able to follow the status of the build under the "Production deploys" section.
Note: if your build fails at first, check the logs to make sure Netlify is using PHP 8.1. You may need to retry the build to pick up the environment variable version change.
Previewing Project
Once the build is finished with success, you'll be able to preview your website using the Netlify preview URL.
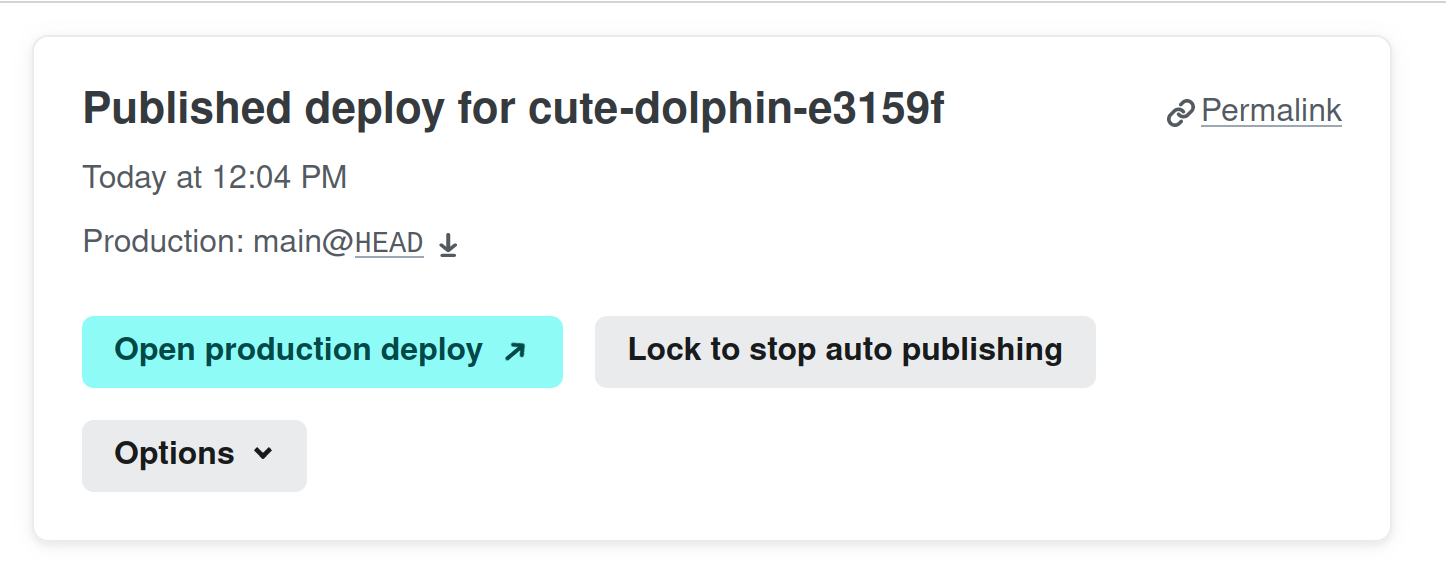
You can now access the preview URL to preview your site and make sure it looks the same as you have locally.
Configuring Deploy Preview
The deploy preview feature should be automatically enabled for you, but you'll need to authorize the Netlify app within your project repository in order to allow the Netlify bot to post a comment in your PRs with the link to the deploy preview.
To check if this feature is enabled, go to "Deploys" and then "Continuous Deployment" on the left menu. You should see a section like this:

Check the Netlify docs on deploy previews for a more detailed guide on how to set this up.
Configuring custom domain name (optional)
The final step of this process is setting up a custom domain name for your website. Although optional, this is highly recommended, otherwise you'll have a random domain name that doesn't relate in any way to your project name. Once you set that up, you'll also be able to secure your site with a Let's Encrypt certificate (Netlify does that for you automatically).
To set up a custom domain, go to the "Set up a custom domain" link that shows up as step number 2 in the "Set up your website" section of the dashboard. You can use an existing domain you own, or you can register a new domain through Netlify. Follow the instructions there and be aware it can take a few hours for your site to be reachable via the custom domain.
Check the official Netlify docs for more guidance on how to set up a custom domain for your site.